
Sat 15-Sun 16 Nov, 11am-5pm
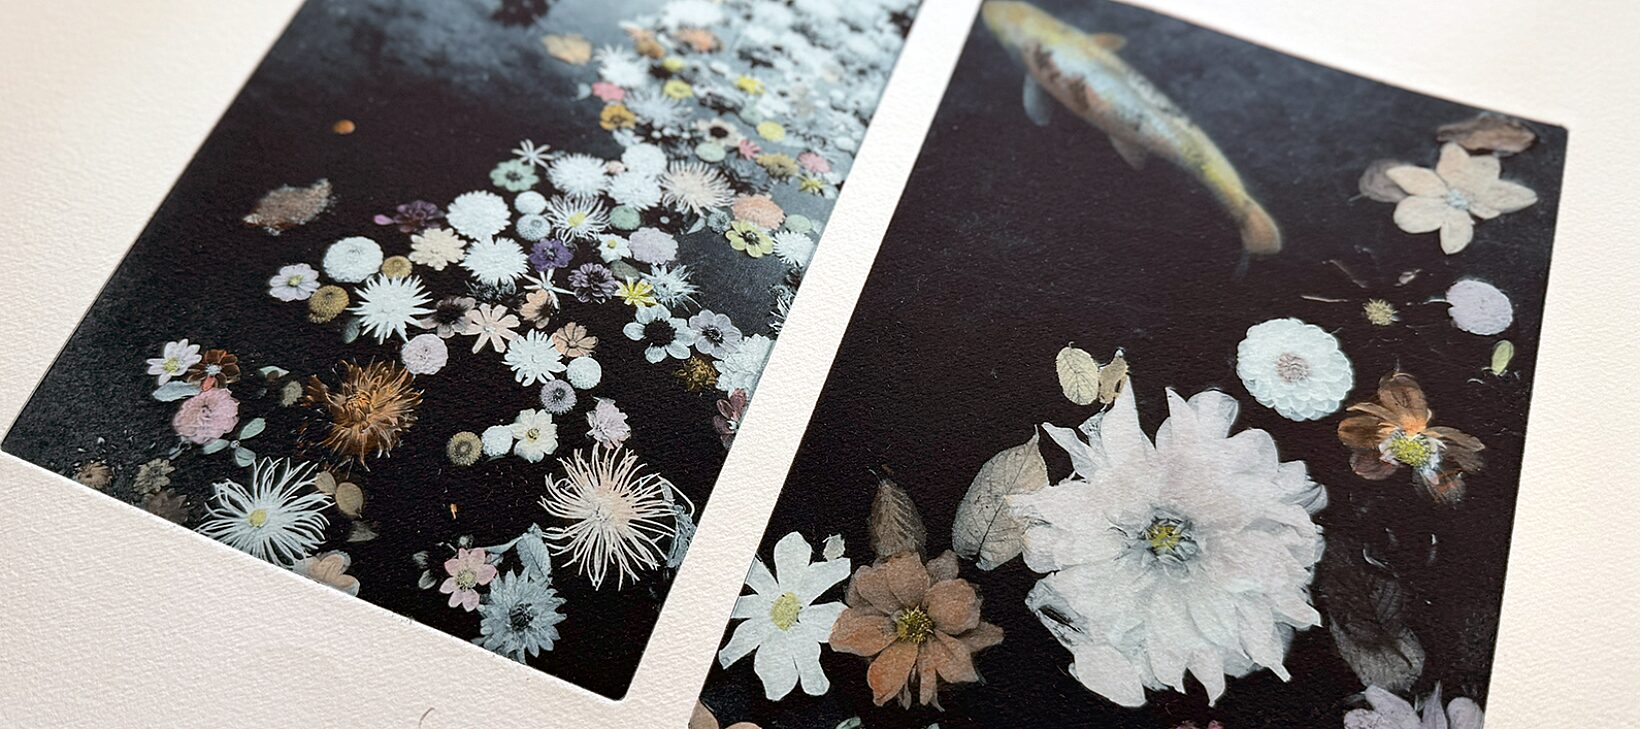
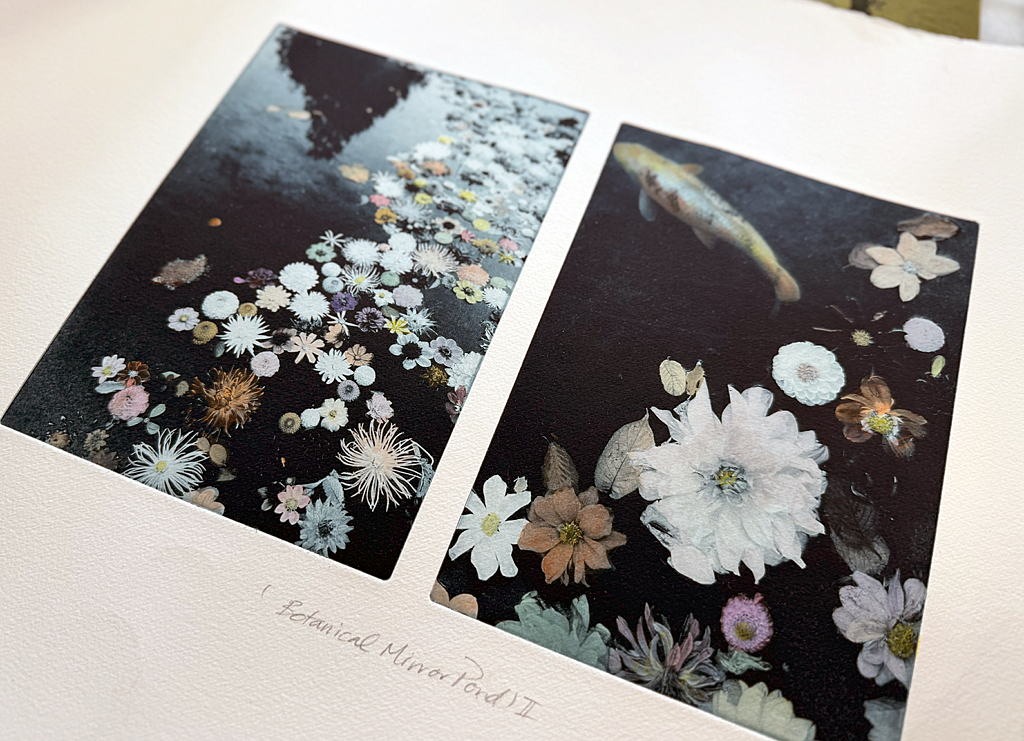
Over two days, you'll learn how to create your own photopolymer prints using pre-prepared solar plates and film positives.
Beginning with a short introduction to exposing test plates using a UV light unit, covers how to accurately measure exposure times. Working together to expose, develop, and cure your own A5 plates. Day two is focused on inking and printing using a traditional etching press. Experiment with proofing blacks and a selection of water soluble coloured inks.
This course is ideal for intermediate learners with some experience in printmaking and basic digital editing skills. All materials and equipment provided, including 2 x pre-cut film positives and two A5 plates. Pre-course communication with tutor Bev Hayes to help you prepare your digital images for film positives. By the end of the course, you'll have explored every step of this alternative printmaking process and produced a small edition of prints from your two small plates.
Guest Tutor Bev Hayes is a UK-born artist and printmaker based in Sweden, working from a print studio in Gothenburg. She has over five years of experience with photopolymer gravure and regularly teaches short courses. Bev also exhibits her work at art fairs and galleries both locally and internationally.
£125 (for two sessions, all materials included)
Important Course Information
After booking, you must send two digital photos of the images you wish to use for the workshop to Bev by Sat 1 Nov. Bev can pre-prepare your film positives ahead of the workshop.
Email Bev at bevhayesart@gmail.com with the subject line: Bluecoat Photopolymer Workshop
Send a high-resolution TIFF/JPEG/PNG file (300 dpi) sized to A5 (148.5 × 210 mm) using a file transfer program.
Deadline: Sat 1 Nov
Timetable
Day 1
- Pre-course digital editing exercise on your own computer to prepare images for film positives.
- Follow step-by-step image editing instructions (PDF notes provided).
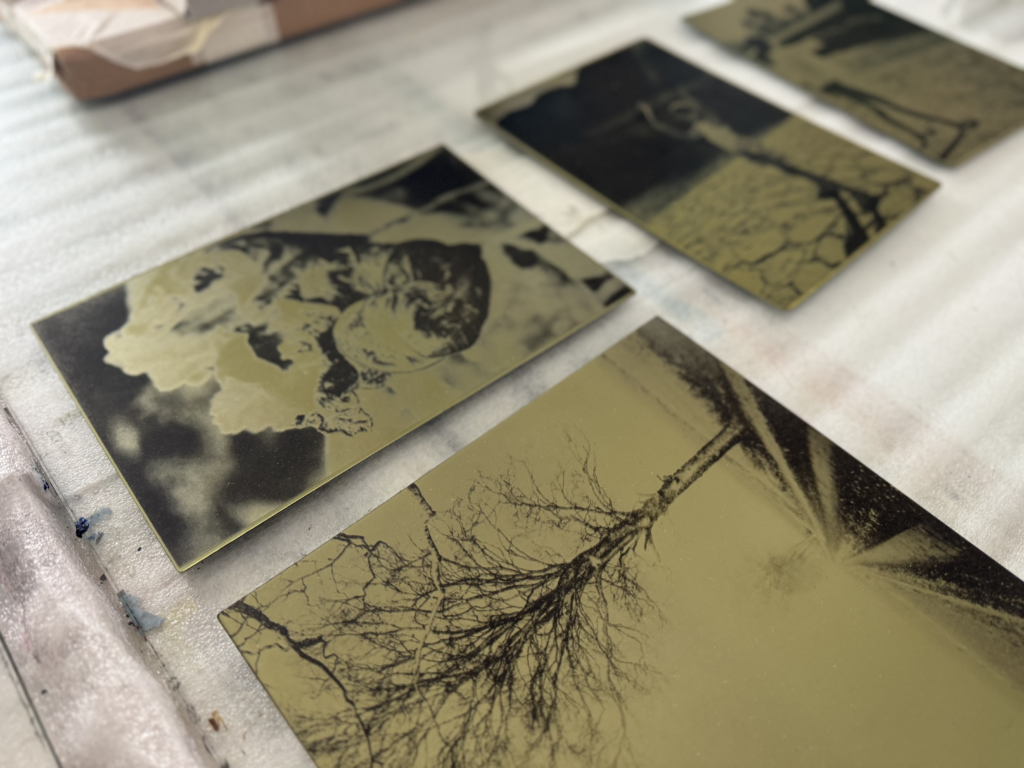
- Make small test plates to practice a two-step exposure: first an aquatint screen, then a film positive.
- Learn to use the UV light box and expose your plates correctly.
- Develop plates in water, then dry cure them.
- Prepare plates for printing by filing edges and corners.
- Cut and dampen paper for printing on Day 2.
Day 2
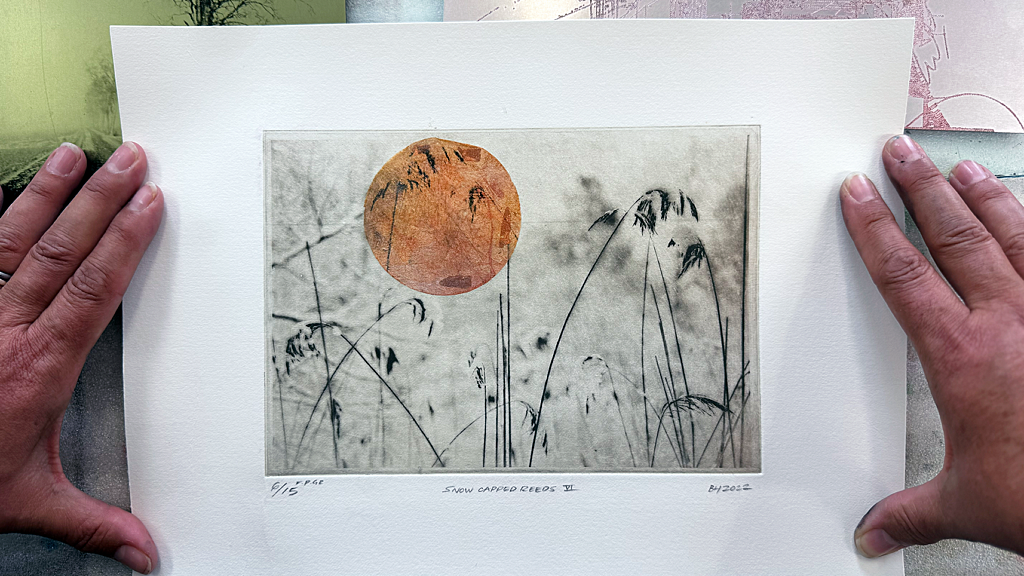
- Ink and print your plates multiple times.
- Test proof in cold and warm black inks.
- Option to try an alternative ink colour.
- Learn tips for choosing and using high-quality inks and paper (bring a notepad).
- Press prints dry.
- Bring an art folder if you want to keep your prints flat for transport.